Timeline Features
Jul 12, 2023

The Timeline
After creating a Track, use the Track expansion button to create and edit your commands in the Timeline.
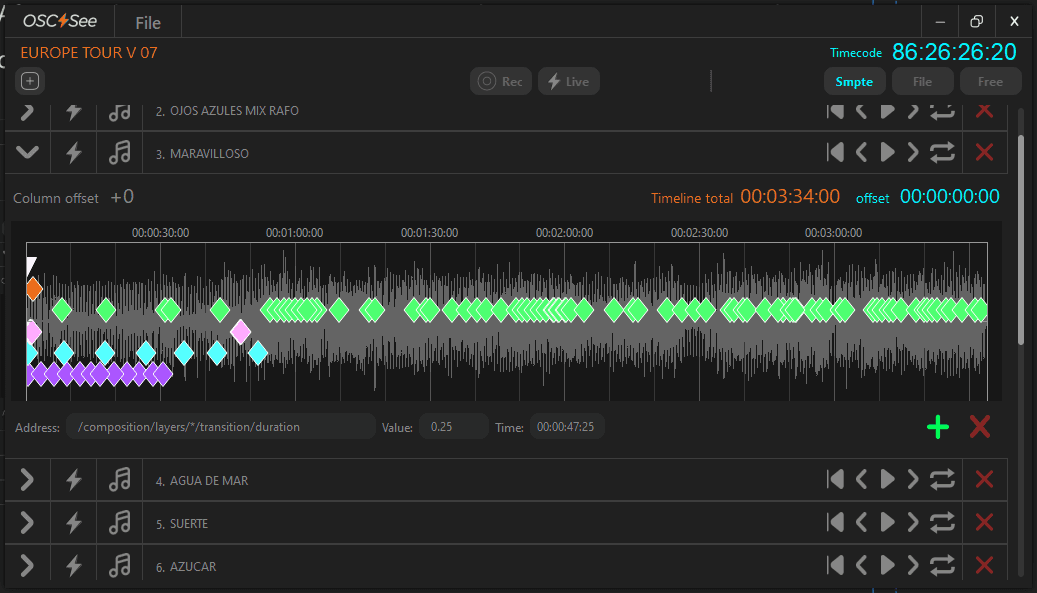
Column Offset
The timeline offers several features that will be very useful for your show. Starting from top to bottom, the first thing you will find is an indicator: Column offset + 0
This is a very useful function currently used exclusively for Resolume. As you know, Resolume organizes its parameters based on the position of clips in the grid of elements in Resolume. The elements in Resolume are numbered progressively from left to right, starting with Column 1, and the Clips also follow the same numbering.
The Column offset function increases or decreases the numbering of your elements in Resolume. It's common to encounter situations where, for example, in a show, you have a complete block programmed, but due to reasons of order or oversight, you added or deleted columns. Another very common scenario is when you copy all your elements to another Deck and need to place them in a different position in the columns, causing your clip and column programming to no longer align. This function allows you to reorganize your programming according to the new position to which you've moved your content. You only need to add the value of the columns you need to adjust the parameters of your track without having to edit all the commands manually.
Column offset can also be set to negative values if you've deleted or moved your elements further to the left in the Resolume interface.
Examples:
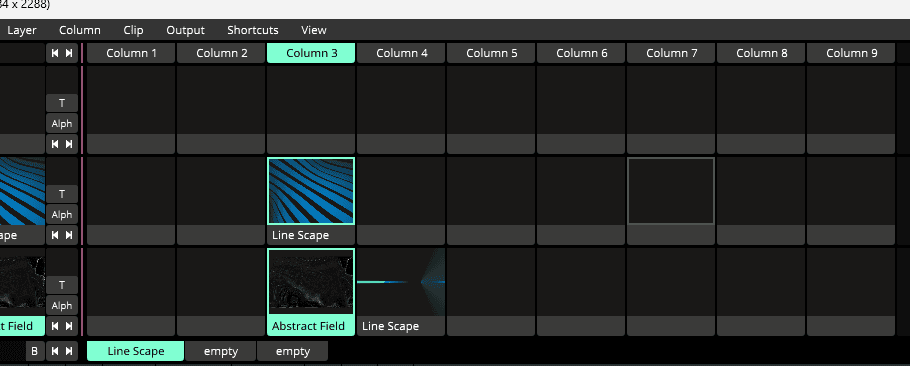
For example, in this project, we started with Column position number 3, but if you were to move those elements to another Deck or add more Columns before them, the numbering would change.
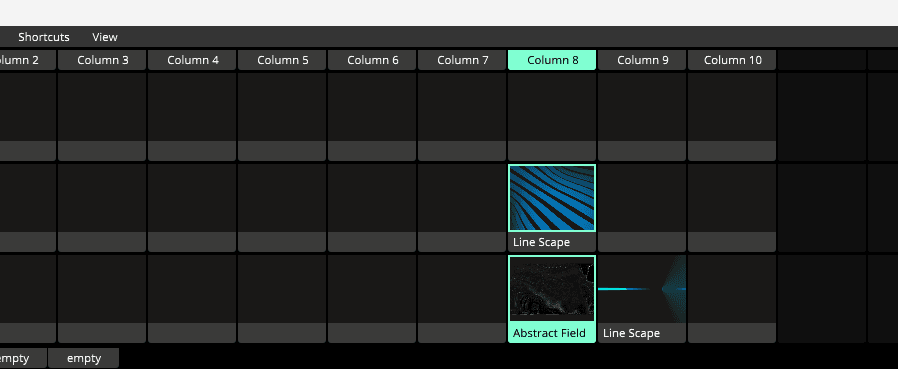
In this case, we've moved the elements to Column 8, so to save us from having to manually edit all the CUEs in OSC See, we use Column offset, which, in this case, would need to be set to Column offset +5, so your commands adapt to the new position in your Resolume project.
Note: The Column Offset its independent by Track, each Track may have a different Column Offset. This value its temporary and doesn't change the original Value on the Command.
If you want to permanently change the Value, you may edit it in the Address Box, or you can use the new feature called Column Offset for selected commands explained in the next section below.
Column Offset for selected commands
In version 1.0.4 and ahead we added a Column Offset for selected commands functionality. Very useful if you want to modify some commands and not all of them in your Track.
Also this functionality edits the command permanently and change the address index.
To do so, access the Edit Menu and use "Column Offset" and insert the desired amount. You may do the same by pressing the right click on the mouse and then select the option on the Pop Up Menu.
Timeline Total and Offset (Smpte)
On the far right of the Track, you'll find 2 Timelines, one in orange labeled "Timeline Total" and one in cyan labeled "Offset."
Timeline Total
Timeline total is used when you want to shorten the duration of the Track in File Mode or Free mode. By default, Tracks in Free mode are infinite. If you want to reduce the total time of the track, enter the desired total time directly, and it will shorten the time.
SMPTE LTC Timecode Offset feature
You can do offset, when you added a track, just adjust the offset time per track, only click on any part of the time, and the offset will be adjusted.
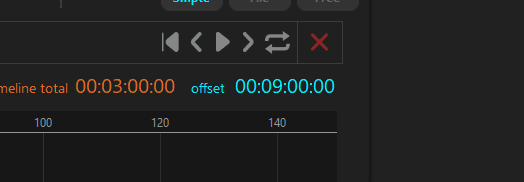
Offset is used when programming a timeline in SMPTE mode, and you want to adjust it to match the timing of a song in the Setlist. This will adjust all parameters and CUEs to the new timing.
The Timeline features
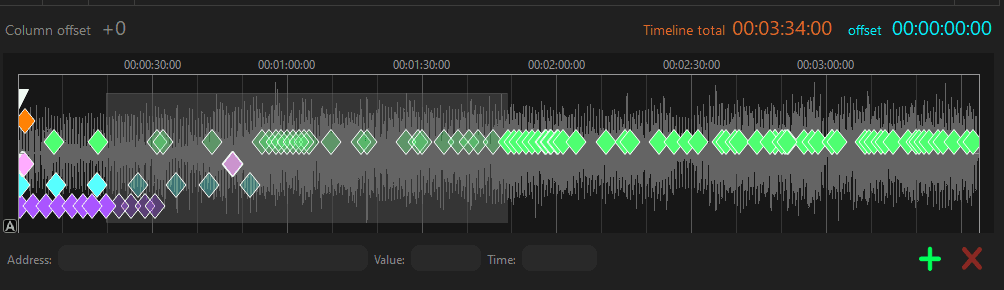
In the timeline, you can add, record, copy, cut and paste. You may select all the commands you want just dragging the mouse over the commands, to delete them or copy paste them to another part of your timeline.
Delete selected Keyframes using ¨del¨ key or pressing the X button on the right bottom corner of the Timeline.
Recording
In Rec Mode, your commands or CUEs are automatically recorded on the timeline.

You will record your desired OSC Addresses in Rec Mode while you Jam in Resolume, each kind of Command its placed in the Address Category on the Timeline. You may configure the colors of the Address category on the OSC Address Window.
In version 1.0.3 OSC See came without any OSC Address Preset activated, you must configure which OSC Addresses you want to record on the OSC Address Window.
In version 1.0.4 OSC See comes pre configured with the most common Address by default as Columns, Clips, Decks and Layer Opacity.
If you want to Record other parameters, you must Add them in the OSC Address Window from the Presets or Add Custom Address. Please go to the OSC Address Window manual to have a more detailed information about Custom Address Creation and Tips.
Creating Commands and Markers manually
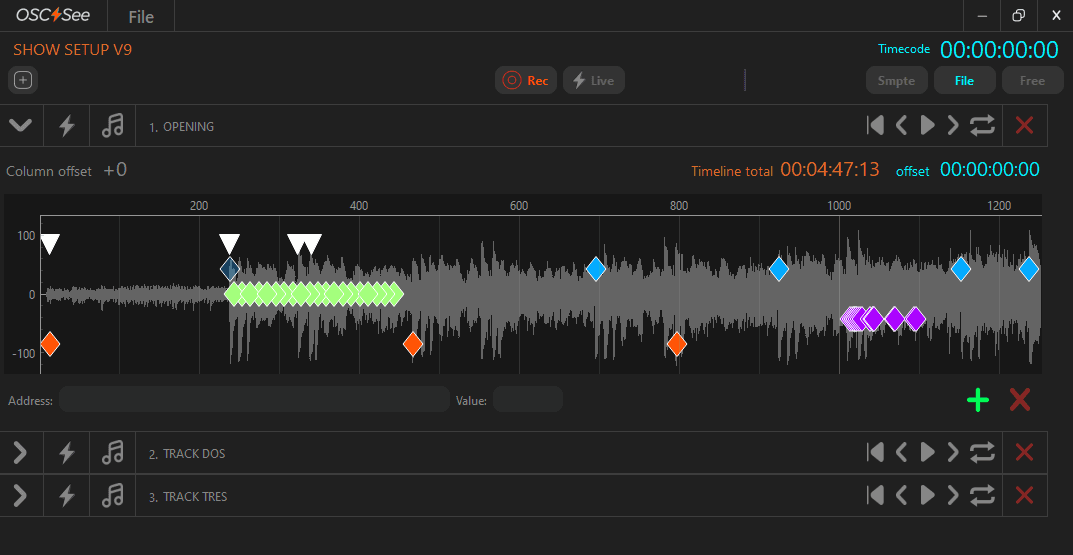
There are two ways to add commands or CUEs. You can do it manually using the green "+" sign in the lower right corner as the timeline progresses.
When you use the + sign, you don't create a command directly, you create a Marker with no Address. After the marker is created, you may edit the Address and assign the command and value.
The other, simpler way to create Commands is in Rec Mode by recording the commands while using Resolume.
Commands and Markers
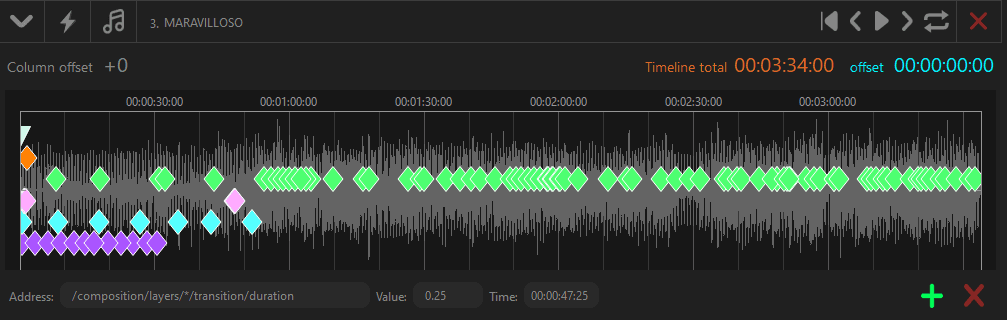
Each Command or Cue inherits some properties as you may see at the bottom of the timeline.
You'll find the Address editing box, the Value Box and the Timestamp Box.
In the Address Box you may put the OSC Address to your specific software command or you may use it as Marker putting directions or annotations for other areas of your production.
This feature is very useful for Show Directors that want to send guides to Visuals area or other dependencies as Lasers or Lights.
Value Box:
OSC See can send various types of OSC messages. In the Value Box, you can insert the value, and OSC See will automatically assign the appropriate OSC message type.
OSC See can send Strings, Integers, Floats, and None types of messages.
Please, take note that some kind of Address inherit a kind that may work different, None messages don't need any value and other, as Floats and Integers depends on them.
Note: The only case where you need to define a message type is for a numeric String; for example, if you want to display a number as Text String in Resolume Text Block, in that case, you must use " " if you want to send a numeric value as a String, surrounding the numeric Value beetween " "
/composition/layers/3/clips/7/video/source/blocktextgenerator/text/params/lines
Value: Test text
If you put alfanumeric Value, automatically Resolume will display the String, but if your String is a number you must use " ".
/composition/layers/3/clips/7/video/source/blocktextgenerator/text/params/lines
Value: "888"
Navigation
Pan or scroll across the Timeline
Just use the Spacebar + left click to scroll across the timeline, or press the wheel on the mouse to drag the Timeline.
Zoom in, Zoom out
You can zoom in and out on the timeline using the middle mouse wheel or by holding down the right mouse button and drag.